Ring Muscle Up Progressions
Muscles worked
- Lat
- Trapezius
- Forearm Flexors
Equipment
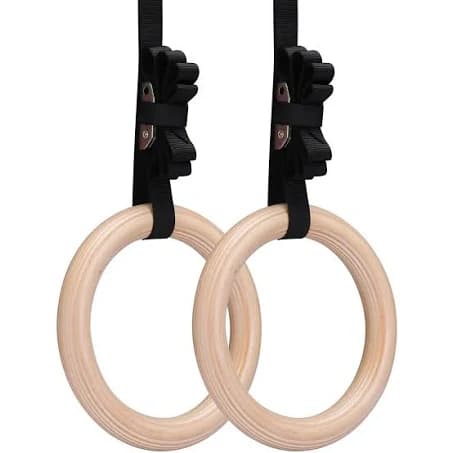
Form Cues
-
Start from a dead hang in false grip: wrists hooked over the rings with the heel of the palm pressing into the ring
-
Initiate the pull by depressing the shoulder blades and pulling the elbows down and back close to the body
-
Pull high: the rings need to reach the lower chest or sternum, not just chin level
-
At the top of the pull, aggressively lean your chest forward over the rings while pressing them down and behind you: this is the transition
-
Keep the rings close to the body and to each other throughout: if they drift outward, the transition becomes much harder
-
In the support position, lock out the arms fully and turn the rings slightly outward for stability
-
Lower with control back through the transition: the negative is just as valuable for building strength
-
Keep the body tight with core engaged: avoid swinging, kipping, or using momentum
Progressions
01 Ring Muscle Up Transition Rows
-
Set rings at roughly chest height: low enough that your arms are almost straight when leaning back
-
Grip the rings with a false grip: wrists hooked over the top, heel of palm pressing into the ring
-
Lean back with a straight body line, arms fully extended, feet on the ground for support
-
Pull your chest to the rings by driving elbows down and back, keeping them close to the body
-
At the top of the pull, lean your chest forward over the rings and rotate your hands into the support position: this mimics the full muscle up transition
-
Push through to a brief support hold with arms extended, then lean back to return to the start
-
Keep rings close together throughout: do not let them flare outward during the transition
-
02 Self-Supported Muscle Up Transition
-
Start in a false grip hang from the rings with arms fully extended: use a box or elevated surface to assist as needed
-
Pull up by driving elbows down and back, keeping them close to the body: avoid flaring outward
-
As the chest reaches ring height, lean forward aggressively and press the rings down and behind you
-
Use your feet on a box or the ground to help with the transition: reduce assistance gradually as you get stronger
-
Finish in a full support position above the rings with arms locked out
-
Lower back through the transition slowly to build strength in both directions
-
Keep the rings close together and close to the body throughout: fight to maintain this even with foot assistance
-
03 Band-Assisted Muscle Up
Bands
-
Loop a resistance band between the rings and place one or both feet in it for assistance
-
Start in a false grip dead hang with arms fully extended: the band should support some of your body weight
-
Pull up by driving elbows down and close to the body: the band helps most at the bottom and reduces assistance at the top
-
As your chest reaches the rings, lean forward aggressively while pressing the rings down and behind you
-
Push through the transition into a full support position with locked arms: use progressively lighter bands over time
-
Lower with control back to the dead hang, maintaining false grip throughout the entire movement
-
Keep the rings close together: the band can cause instability, so focus on keeping the movement path tight
-
04 Negative Muscle Up
-
Start in the support position above the rings with arms locked out: jump or use a box to get into position if needed
-
Establish your false grip before beginning the descent: wrists hooked firmly over the rings
-
Lower slowly through the dip portion first, bending the arms with control
-
As you reach the transition point (rings at chest level), lean back gradually while keeping the rings close to your body
-
Continue lowering through the transition with control: this is the hardest part and where you build the most strength
-
Keep elbows close to the body throughout: do not let them flare outward as you descend
-
Finish in a full false grip dead hang with arms extended: aim for a 3-5 second descent total
-
05 Paused Negative Muscle Up
-
Start in the support position above the rings with arms locked out: establish false grip before descending
-
Lower slowly through the dip until your arms are at roughly 90 degrees: pause and hold for 2-3 seconds
-
Continue lowering to the transition point where the rings are at chest level: pause again and hold for 2-3 seconds, fighting to maintain position
-
Lower through the transition into the pull-up range: pause once more at the mid-pull position with elbows bent at 90 degrees
-
Continue to full dead hang with arms extended, maintaining false grip throughout
-
Each pause builds isometric strength at the weakest points of the muscle up: fight to hold steady without dropping
-
Keep the rings close together and elbows close to the body: the pauses make it harder to maintain proper position
-
06 Ring Muscle Up Transition
-
Start in a dead hang with false grip: wrists hooked over the rings, full arm extension, shoulders engaged
-
Pull explosively by driving elbows down and back, keeping them tight to the body throughout
-
Pull high enough that the rings reach your lower chest or sternum: insufficient pull height is the most common reason for failed muscle ups
-
As the chest reaches ring height, lean forward aggressively and press the rings down and behind you in one fluid motion
-
Rotate the wrists and push through into the support position with arms locked out: the transition should be fast and decisive
-
At the top, turn rings slightly outward for stability and hold briefly before lowering
-
Lower with control back to the dead hang: the full movement should be smooth without kipping or swinging
-
Common mistakes
Built into a program made for you
Every exercise here adapts to your goals, equipment and schedule inside the app.